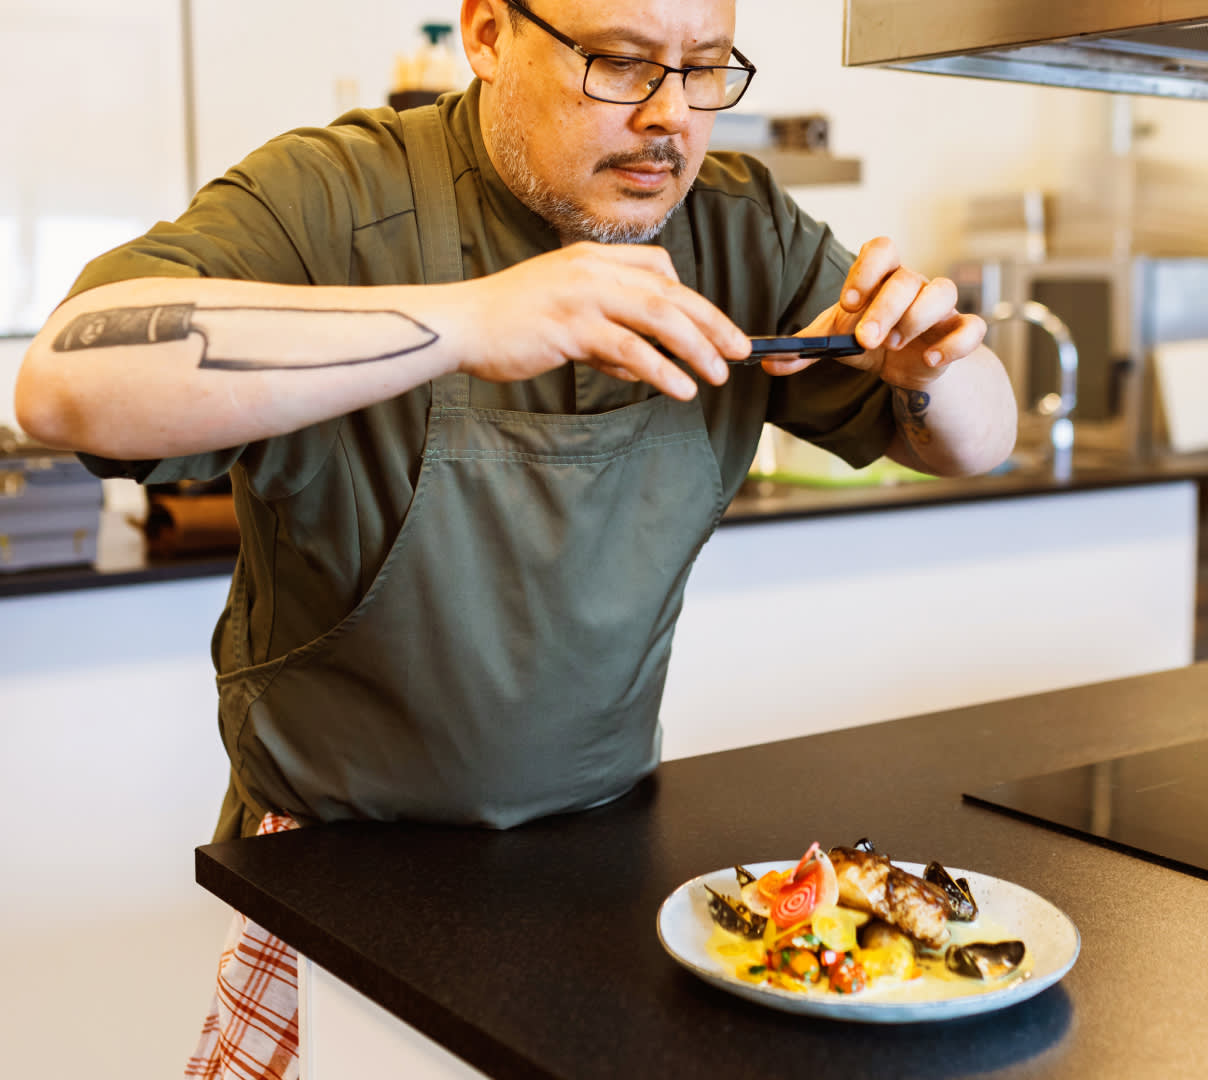
Customers increasingly rely on online menus and food photos to make dining decisions. According to DoorDash's 2024 Restaurant Online Ordering Trends Report, consumers' reliance on food photos has increased by 11% year over year, solidifying the importance of high-quality menu images in the online ordering process. In fact, 38% of customers use menu photos to choose a new restaurant.
When adding menu photos to your DoorDash store, there are a few things to keep in mind to ensure swift approval. DoorDash holds a high caliber for photos on the app for the best customer experience. Read on for tips to help ensure that your photos are approved and if there are any rejections, learn how to resolve them quickly.
What are common reasons a photo is rejected?
When you’re notified about your photos getting rejected, you’ll be told why it happened via email and in the Menu Manager in the Merchant Portal. Here are some common reasons photos are rejected:
Zoom: Photo is too zoomed in and won’t render correctly in the app. Try taking the photo in landscape mode and make sure the entire item is visible.
Background: The background is distracting or artificial. Try adding a photo with a neutral background to showcase better what a customer will receive in their order. Try to avoid busy tablecloths, bright-colored backgrounds, or additional items in the frame that can be distracting.
Overlays: The photo has text or graphics added. Please remove the graphics, text, or logos before uploading again.
Collage: Photo appears to include multiple photos. Make sure you only use a single photo.
Lighting: The photo is too light or too dark. Try adding a brighter photo so we can see the item better or if too bright, try turning off your flash so we can see the item better.
Blurry: The menu item is out of focus or low resolution (our minimum is: 230x230px). Please make sure the main item is in focus (the background can be blurry).
Color issue: The colors in the photo seem unnatural or inaccurate. Our photo guidelines include how to take better menu photos. Remember that taking photos near windows ensures more natural light.
Unappetizing: Food is partially consumed, messy, visible plastic utensils, or visually unappealing. Check out our photo guidelines for good menu photo examples.
People in shot: Photo includes faces. Hands and arms can only be visible when holding items.
Non-item photo: Photo doesn’t clearly show the item. Make sure it’s a real photo and the entire item is visible.
Mismatch: The image doesn’t match the menu item or includes other items.
Duplicate: Photo has already been submitted. You can’t have the same photo on your menu twice.
Copyright: Our content team has flagged this photo as potentially not belonging to your store. Only submit photos that you own or have taken yourself.
Non-representative: Image appears to be artificial, generated using AI or other technologies, or heavily modified using AI or other technologies in a manner that renders it non-representative of the actual menu item.
What are the requirements to get my photos approved?
If you’re just starting, select your most popular/signature items first to highlight the specialties on your menu.
Definitions
Here are some definitions of photos you will need to upload:
Item photo: A picture of one of your products that shows a meal’s size, shape, color, and ingredients.
Carousel photo: A single header photo or a collection of photos in the app that potential customers can easily flip through to get a sense of your menu and what you’re offering.
Header photo: The photo at the top of your restaurant’s store page in the app.
Logo: A visual image of your restaurant’s brand logo.


Item Photo Guidelines
File Size: Under 16 MB
Aspect Ratio: Landscape (16:9)
Resolution Size: 1400 x 800px minimum
File Type: JPG, JPEG, or PNG
Showcase the food/products you sell
Not have text/graphics overlays or borders
Focuses on just the individual dish/product for the item linked
Have food/products be centered as much as possible to fit the header frame best
Logo Guidelines
File Size: Under 2 MB
Aspect Ratio: No requirement, but the system crops the center square from the photo, so square (1:1) photos are your best option
Resolution Size: 230x230px
File Type: JPG, JPEG, or PNG
It is recognizable, readable if text, and graphics are clear
Avoid just text in a single line since this is difficult to read
It should not be a photo of an item you sell, but graphics are allowed
The white border will be added afterward and not part of the uploaded image
Header Photo / Carousel Guidelines
File Size: Under 2 MB
Aspect Ratio: 4:1 (Web); 16:9 (App)
Resolution Size: 1400x800px minimum
File Type: JPG, JPEG, or PNG
Showcase the food/products you sell
Not have text/graphics overlays or borders
Include multiple items/products in the photo, but not as a collage/multiple different photos spliced together
Have food/products be centered as much as possible to fit the header frame best
Examples
Here are some examples of approved versus rejected photos:

What happens when a photo is rejected
When one of your photos gets rejected, you'll receive an email notification from DoorDash. This email will indicate which photos were rejected and explain the reasons for rejection.
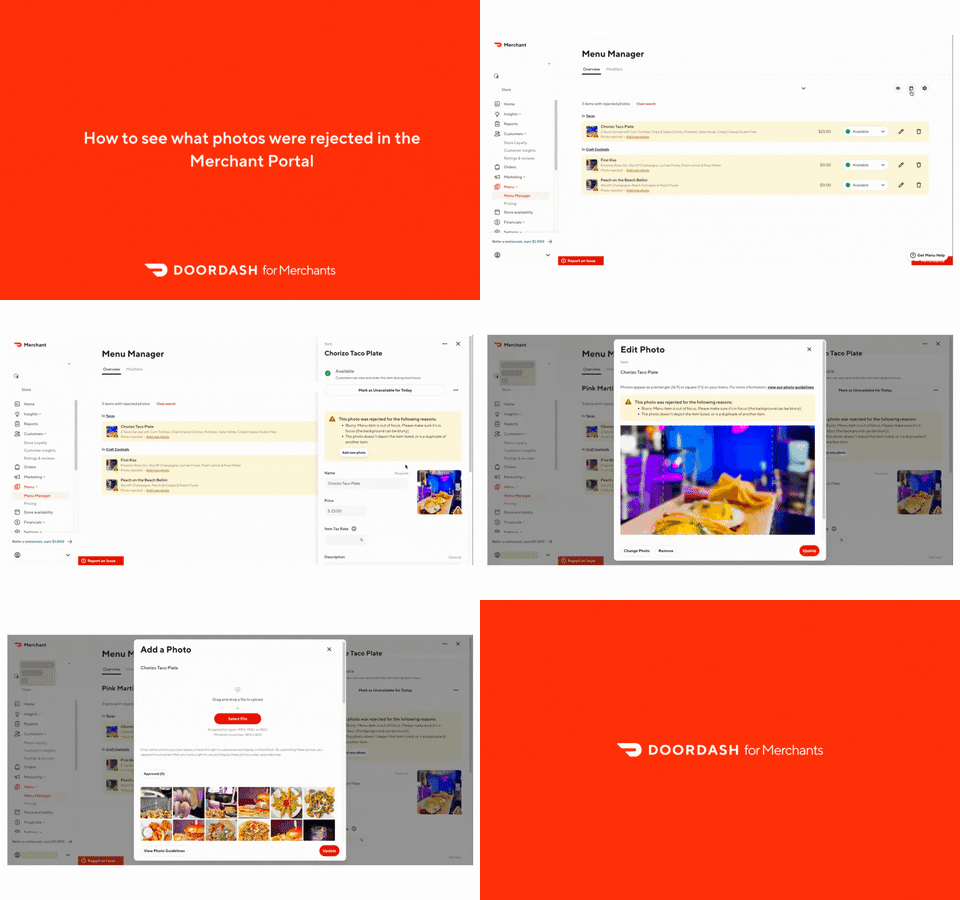
You can also see what photos were rejected in the Merchant Portal:
Log in to the Merchant Portal and head to the Menu Manager.
At the top of your menu overview, if any photos were rejected, you will see a notification.
Click View Items to see which images had issues.
Click on the item and a reason will pop up in the menu item box, describing why your photo was rejected.
To add a new image, make sure it meets all our requirements, and then click Add new photo.
These notifications aim to give you transparency into the photo review process and guidance on addressing the issues for successful resubmission.
What to do if your photo is rejected
After reviewing our photo guidelines and taking new photos, head to the Menu Manager tab in the Merchant Portal to resubmit your new pictures for review. To learn how to submit your photos, check out How to Add DoorDash Photos.
Photo FAQ
How do I get a free DoorDash photoshoot?
To find out how to organize your free DoorDash photoshoot, head over to How to Add DoorDash Photos.
What if I see images on my menu that I didn’t add?
To help customers see what they will get when they order from your restaurant, we may use User-Generated Content (UGC). These are photos taken and uploaded by customers who have ordered from you. To learn more about these images and how to remove them, check out Why Did DoorDash Add Photos to My Store? [Link to article when live].
As best put by Sven Vogtland, Co-Founder, Coyo Taco: “As a consumer, when I scroll through menus and something really catches my eye, that's what I'm going to order for dinner that night.” By following the guidelines and addressing any issues promptly, you can ensure your menu photos meet DoorDash's standards and do the best to showcase your offerings to attract more customers. With clear and high-quality images, you can enhance the online ordering experience and increase the chances of customers choosing your restaurant.
Want to add modifiers to your menu? Head over to How to Add Modifiers to Your Menu in the Merchant Portal.
