According to our 2024 Restaurant and Alcohol Online Ordering Trends Report, 86% of diners order on third-party apps at least 2 times per month. As you prepare to go live and start serving customers through our platform, it's essential to address four key components that will pave the way for a smooth start. From ensuring your store hours align with customer demand to having a high-quality, enticing menu, this guide will walk you through each crucial aspect. By carefully attending to these elements, you'll be well-equipped to not only meet but exceed customer expectations and make a memorable entrance into the world of online food delivery.
Step 1: What are “good” store hours?
Lien Ta originally opened All Day Baby in Los Angeles as a daytime-only restaurant — but she recently launched a pop-up dinner concept four nights a week. By expanding her operating hours, Lien was able to increase revenue, reach new customers, and offer more consistent shifts to help retain staff. This is why store hours can help you stand out to potential customers and staff. According to our 2024 Restaurant Online Ordering Trends Report, DoorDash users tend to order most often on Fridays, Saturdays, and Sundays after a long week of work. Orders spike around lunch and dinner, with 6 pm as the overall most common time, but late night and breakfast are rising in the ranks. Late night and early morning meals from 12 am - 5 am saw 44% growth year over year and breakfast orders from 5 - 11 am grew by 29%.
To ensure you have appropriate store hours, check that your tablet is turned on and connected to Wi-Fi before your opening hours every day. This is crucial to operations because it makes your store discoverable to both new and return customers. Learn more about how to set up store hours.
Step 2: What is a high-quality menu?
According to our 2024 Restaurant Online Ordering Trends Report, 35% of respondents shared that they go to a website restaurant or an app like DoorDash to begin deciding what to order with menu selection (55%) and menu pricing (50%) as the top two things consumers look for when deciding to try a new restaurant for delivery or pickup. Think about it from a customer perspective — you are a customer scrolling through DoorDash. Say you’re in the mood for a burger and fries and run across a store you’ve never ordered from before. Here are a few key things to keep in mind when creating your menu:
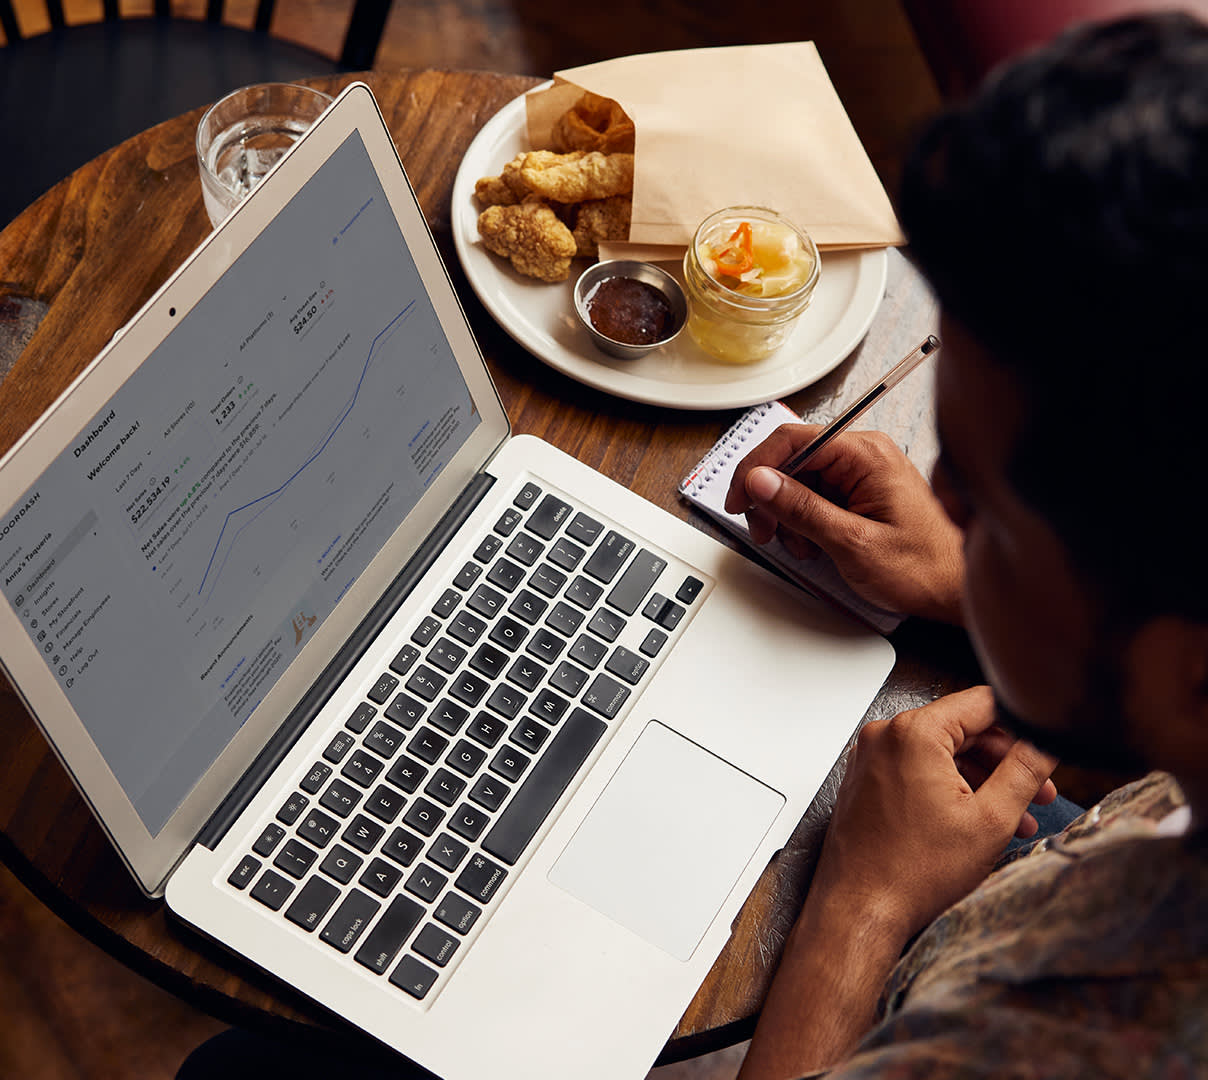
Clear item photos and descriptions. Customers want to know what your dish will look like, how big it is, and what ingredients were used, which is why visuals are so important. According to the same report, consumers' reliance on food photos has increased 11% year over year, solidifying the importance of high-quality menu images. To make this easier, you can upload your photos directly through the Business Manager app, which can be downloaded onto your phone and keeps you informed about your store's performance, allowing you to update your menu, communicate store hours to customers, receive instant notifications, and review feedback–even on-the-go.
A header and logo image. Your header and logo should look professional and inspire trust in your brand, as well as help the nearby customers who already know you identify your store on DoorDash. That’s why restaurants with a store logo and header image get up to 50% more monthly sales (based on a DoorDash study of over 15,000 local small business merchants in Q2 2022). Make sure to create a design that will be memorable and easy to recognize next time they want to order from you.
Customization. Can your menu items be customized? Make sure that if your customers don’t like a specific ingredient they are able to remove it from their order. On the flip side, they should also have the option to add-on modifiers.
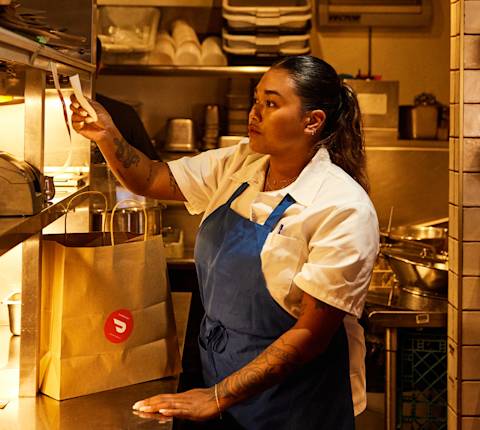
Step 3: What are DoorDash tablet basics?
Understanding the essentials of how to use your tablet is critical for early success on DoorDash. Make sure your store checks off the following list every day:
Before your store’s opening hour, your DoorDash tablet is turned on.
Your tablet is connected to a power source and Wi-Fi.
Your Order tab is open.
Remember: When your tablet is off, your store does not show up for customers.
Learn more about how to set up your DoorDash tablet.
Step 4: Can customers and Dashers contact your store?
Your phone number will be how customers and Dashers will contact you about live orders, and the address you provide will be what they use to reach your store. In the Settings section of the Merchant Portal, make sure that the address and phone number you provided are correct and up to date. It’s crucial that you provide a physical address, and not a mailing address if you have a separate one, as Dashers will use the address to pick up orders.
Congratulations! Your store is set up and ready to receive orders. As your team gets used to accepting delivery orders, make sure they understand how to pause your store, as well as adjust live orders in case an item is out of stock or they need to contact a Dasher.
Now that you’re all set up, not sure what to prioritize next on your to-do list? Learn how to optimize your business to maximize your sales on DoorDash.