A study by the DoorDash developer team found DoorDash photos have the biggest impact on the success of a menu. In fact, based on an April – June 2022 DoorDash study of over 15,000 small restaurants, menus with photos get up to 44% more monthly sales.
In this article, we’ll walk through how to add photos to your menu, meet photo DoorDash requirements, and even get a free photoshoot sponsored by DoorDash. In addition, if you need to add photos to your DoorDash menu on the go, here’s a step-by-step guide to using the Business Manager App.
Where can I add my header and logo?
According to our April–June 2022 DoorDash study, menus with header images and logos get up to 50% (header) and 23% (logo) more monthly sales than menus without these branding elements. If you want to learn how to add your restaurant’s header image and logo, check out Store Essentials, which will walk you through how to add them in the Store Settings section of the Merchant Portal.
Please note, only users with Business Admin permissions or higher will be able to update headers and logos. Learn more on how to manage permissions.
How do I add DoorDash photos to my menu via the Merchant Portal?
Once your photos are ready, you can upload them to your menu through the Menu Manager in your Merchant Portal.
How to upload new photos.
1. Navigate to the Menu section and click on the item you want to add photos to.
2. Once an item’s page is open, there are two ways to add a photo:
Click Add a photo in the blue box.
If you want to update an existing photo, click on the current image you’d like to change.
3. If your photo has already been approved, look for it under the Approved section.

4. Click Select File or drag and drop the image you want to upload over the Photo Uploader then click Save.
5. Next, you can edit the photo, such as zooming in. You can also click in View Photo Guidelines to see if your photo meets our quality control standards. From here, you can choose whether to Submit for Review or Change Photo.
6. Once uploaded, DoorDash will review your photo. This process usually takes 2-3 business days.
7. Back on the menu item page and on its individual item page, you will see a clock over your image, indicating it is still under review.
Some things to keep in mind:
New photos can take up to 72 hours to be reviewed. Images will only be reviewed if they are linked to a menu item. If a pending photo is being used on multiple menus, the image will be assessed and approved for all locations.
Menu photos are displayed as thumbnails (1:1) and detail page headers (16:9). DoorDash will try to optimize the viewing window of your image for these aspect ratios. To help with this, please ensure the most important part of the photo is centered in your image.
If the image was previously uploaded and was rejected, uploading it a second time will not change the approval status.
How do I submit a request to the photos team?
The photo team can also help you with a number of other photo issues. To reach out to them for support, start by:
In the Menu Manager section of the Merchant Portal, click Get Menu Help at the bottom right corner of your screen.
Select the Request Menu Update button.

3. Fill out the form.
Option 1: Adding brand images and troubleshooting load errors
You do not need to submit a ticket for every photo, especially if uploading the same photo(s) for multiple locations, one ticket for all will suffice. If you want to upload these visuals or have any issues regarding photo submissions, uploading, or approval, here are next steps:
Within "Please add any additional menu updates in the box below", state that you are “Requesting upload support”.
Within "Provide your menus and item photos, either as attachments or URLs", upload your attachments.
If uploading more than 1, check the box for “I would like to attach additional files” to have more uploading fields.
If adding more than 4, please share a link to a file sharing site like Google Drive (and be sure sharing settings are set to Anyone with the Link).
Check the box for "I confirm that a menu source has been included or is not needed for this menu update. Menu sources are needed for ALL changes that impact an entire menu (>5 items) and bulk pricing changes".
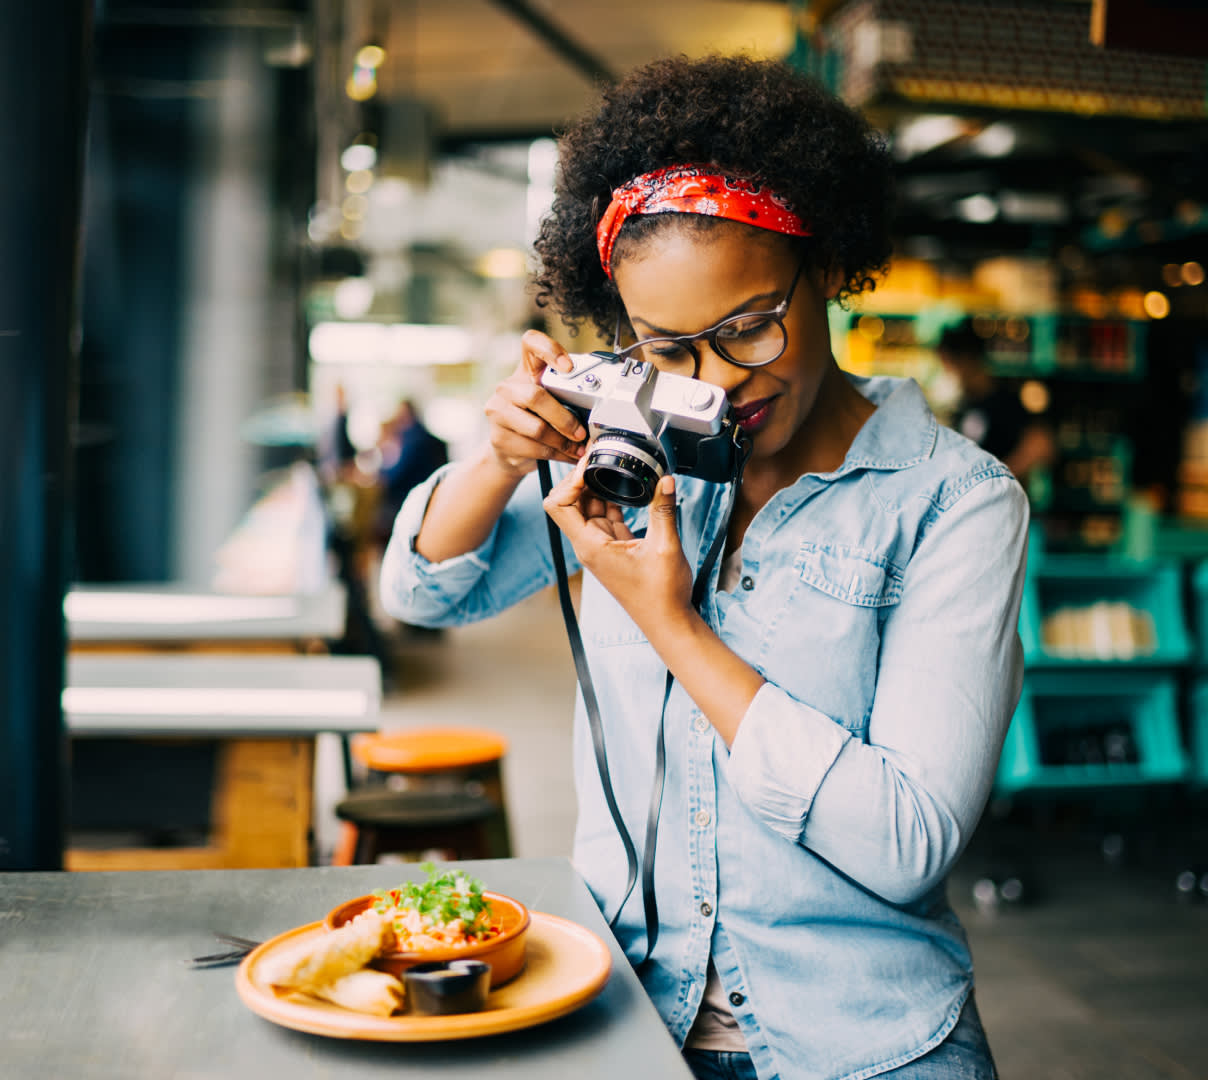
Option 2: Requesting a free DoorDash photo shoot
If you don't have high-quality photos, DoorDash is happy to pay for a professional photographer to come to your restaurant and photograph up to 20 item photos and a header shot to showcase your store at no charge to you. We suggest you prioritize your most popular dishes.
"DoorDash will bring in a photographer to take photos that you can use not only on your DoorDash page but on your own website, online ordering system, or POS system," Boulton, co-owner and CEO of Oren's Hummus, explains of their experience. "It helps us be seamless across all platforms."
To request a free photoshoot:

Within "Please add any additional menu updates in the box below", state that you are “Requesting a Photoshoot”.
Once the form is complete, click Submit Form.
We will coordinate with the photography company who will reach out via email with a scheduling link for you to choose your desired photoshoot day and time. Expect to hear from us within 48 business hours.

"The pictures are perfect for our website. You see our steak and cheese oozing on a plate and it makes you want to order it immediately."
What are DoorDash Photo Requirements?
To learn more about our photo approval process and how to take great photos, head over to photo approval process article.
Will DoorDash add photos to my menu?
Knowing how critical photos are in increasing sales, we do at times add photos to your menu in order to help increase sales. To learn more, check out user generated content article.
Your DoorDash photos are what will give your customers their first impression of your restaurant, so it is important to put your best foot forward. When you have your menu with photos and branding visuals in place, you have a greater chance of success.
Want to add modifiers to your menu? Head over to How to Add Modifiers to Your Menu in the Merchant Portal.